










Your Display Is Simpler Than It Looks
Understanding your e-bike display settings comes down to a handful of core readings and a few adjustable settings, none of which require a technical background to use confidently.
Most new riders glance at the display, see a cluster of numbers and icons, and ride on whatever the default settings are. That works fine to start, but knowing what each reading means and how to adjust the key settings makes every ride more efficient, more comfortable, and easier to manage. This guide covers what beginners actually need to know — not every technical specification, just the settings and readings that matter day-to-day.
The Main Display Readings: What You're Looking At
Most CYCROWN e-bike displays show a consistent set of core information. Learning to read these at a glance takes one or two rides.
Battery Level
Usually shown as a percentage or a bar indicator in the corner of the display. This tells you how much charge remains. The most important habit to build is checking this before you leave, not mid-ride when you're already committed to a route. Most models show battery level clearly and update it in real time as you ride.
When the battery drops below 20%, the system typically reduces available power to protect the remaining charge. That's normal and an expected aftermath and not a malfunction.
Current Speed
Displayed prominently in the center of most screens, usually in mph. This is your real-time speed. On models like the Nomad Pro Fat Tire E-Bike, you can switch between mph and km/h in the advanced settings if needed.
Pedal Assist Level
Shown as a number, typically 0 through 5, or sometimes as Eco/Normal/Sport/Turbo labels. This is the setting you'll adjust most frequently while riding. Level 0 means no motor assistance; level 5 is maximum support. The higher the level, the faster the battery drains.
Most daily riders settle into level 2 or 3 for flat commuting, bumping up to 4 or 5 for hills, and dropping to 1 or eco on long flat stretches where they want to extend range.
Trip Data
Pressing the display button cycles through additional information: odometer (total distance traveled), trip distance (distance since last reset), average speed, max speed, and ride time. These aren't essential to riding, but they're useful for tracking your commute patterns and understanding how your riding habits affect battery consumption.
Error Codes
If something isn't right with the bike's electrical system, a red error code will appear on the display instead of normal readings. Note the number and check your owner's manual or contact support — don't ignore a persistent error code.
Adjustable Display Settings Every Beginner Should Know

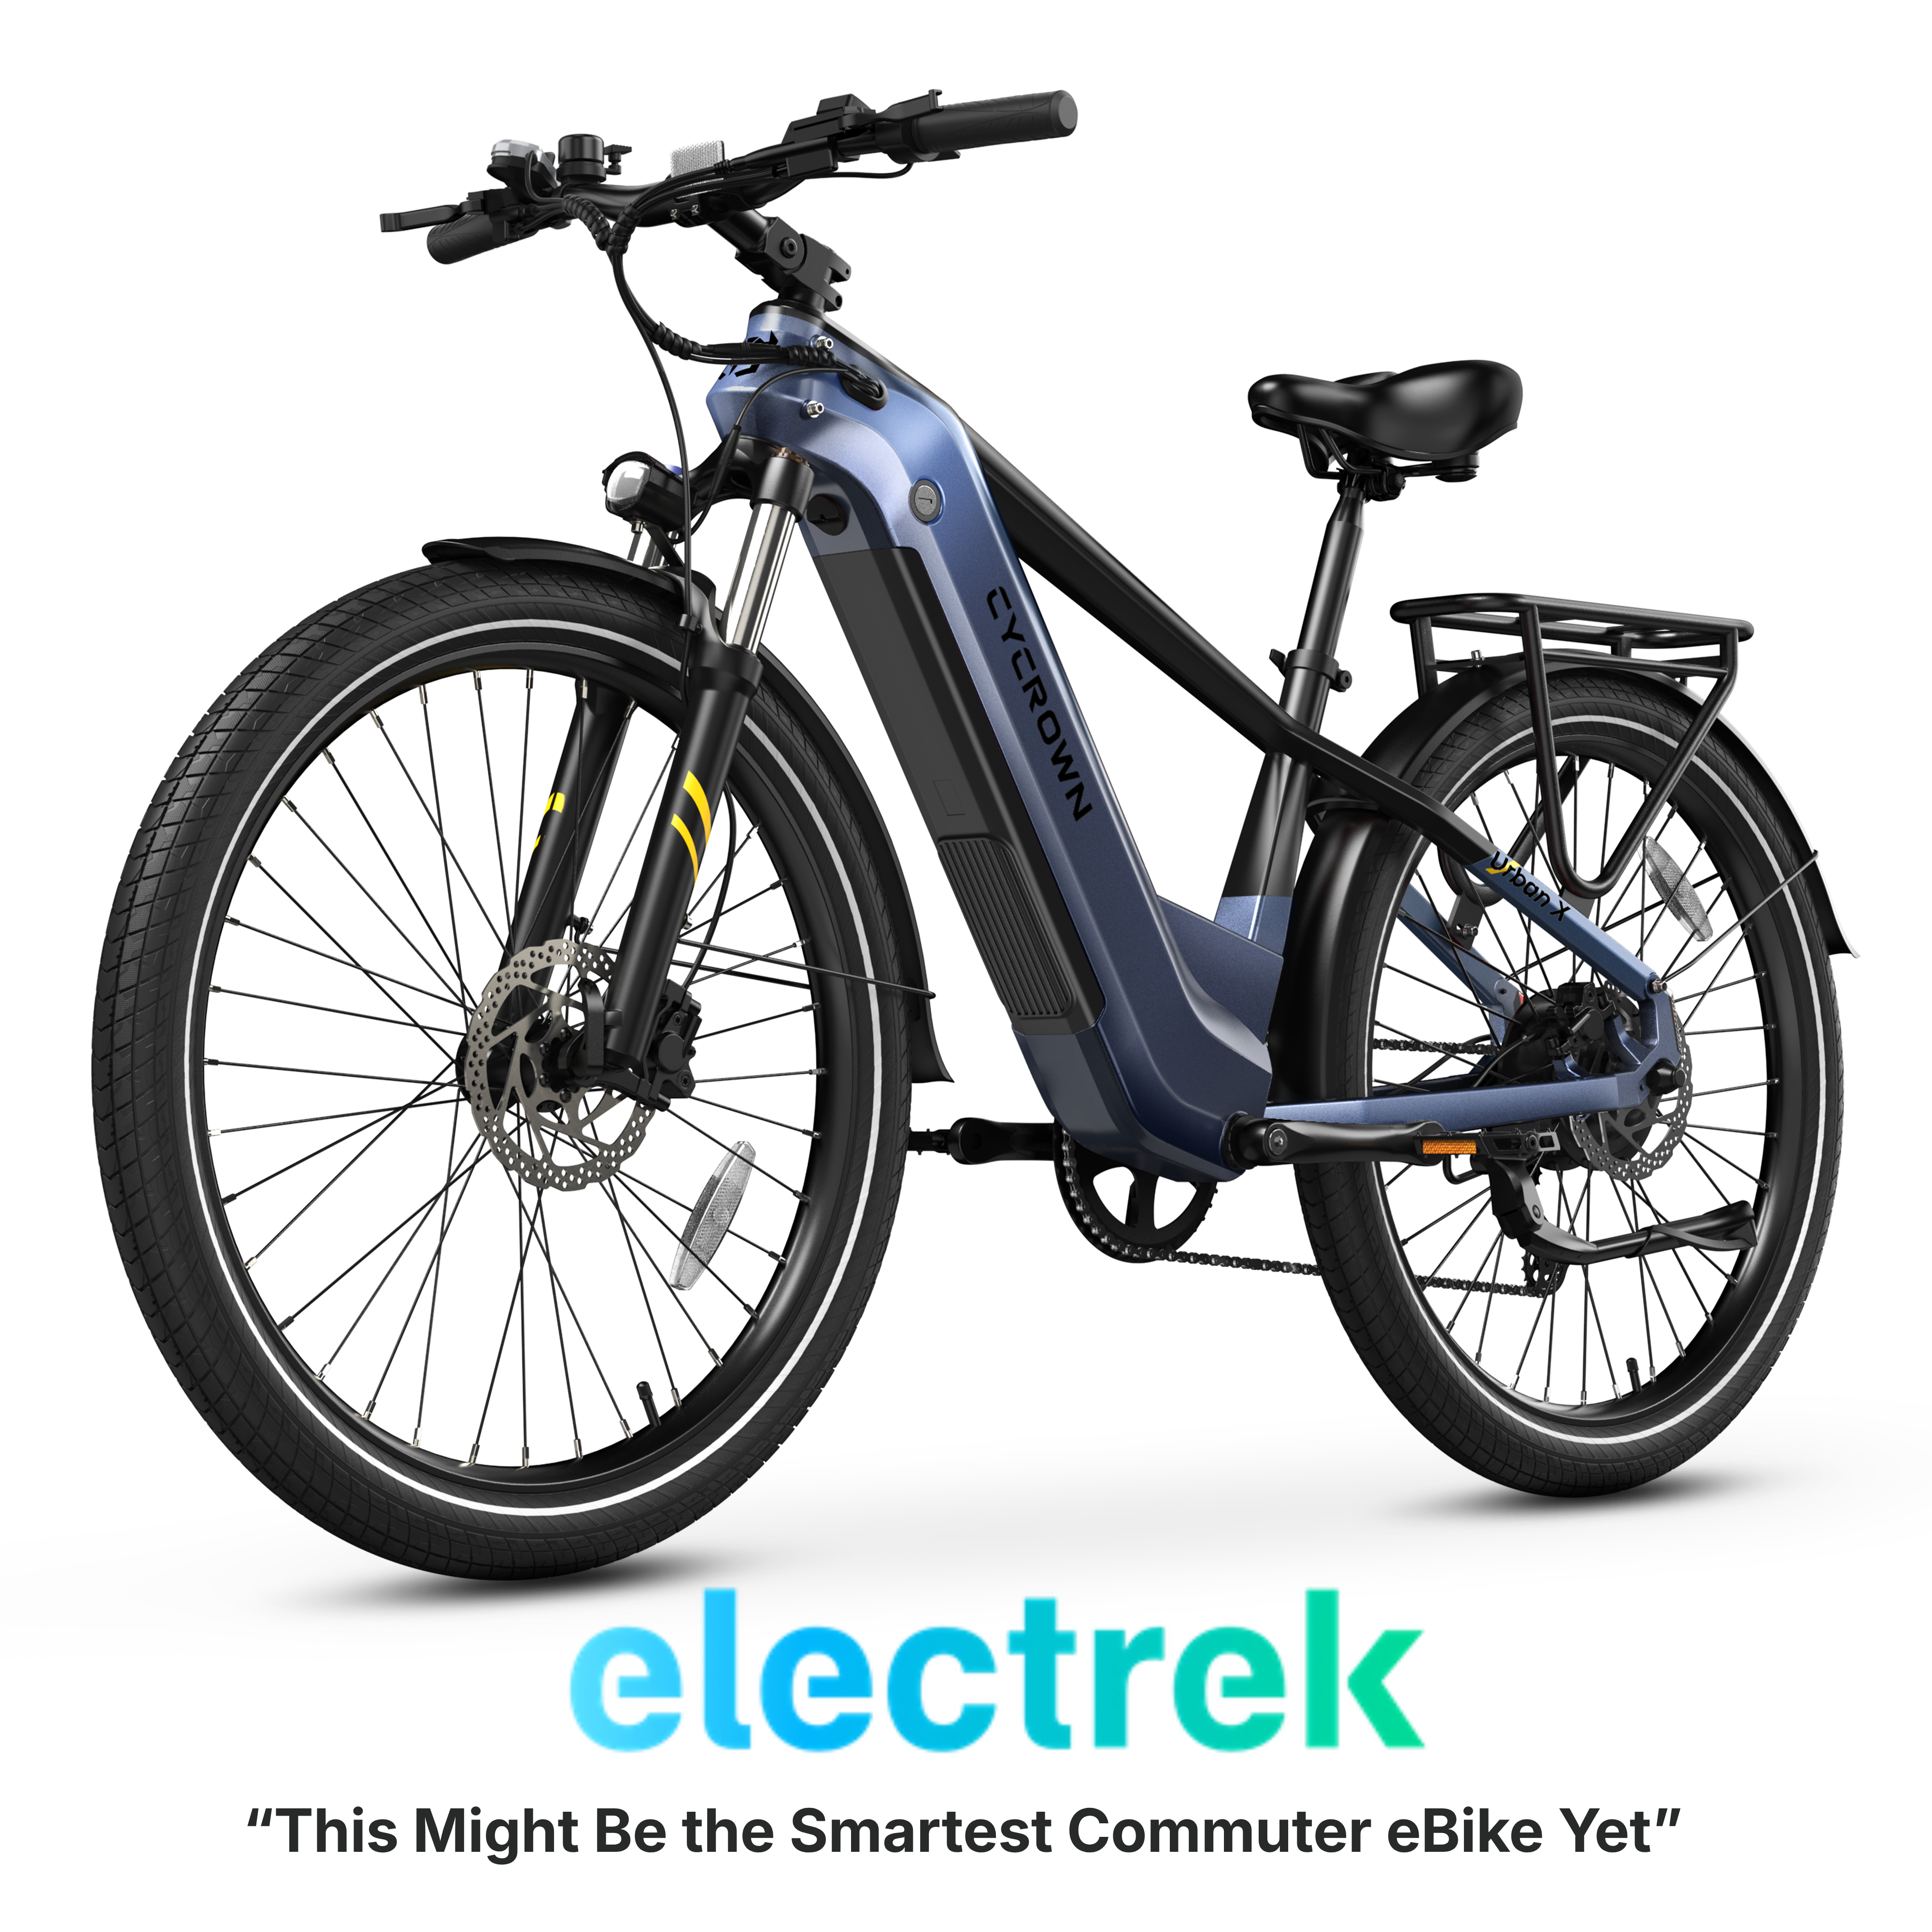
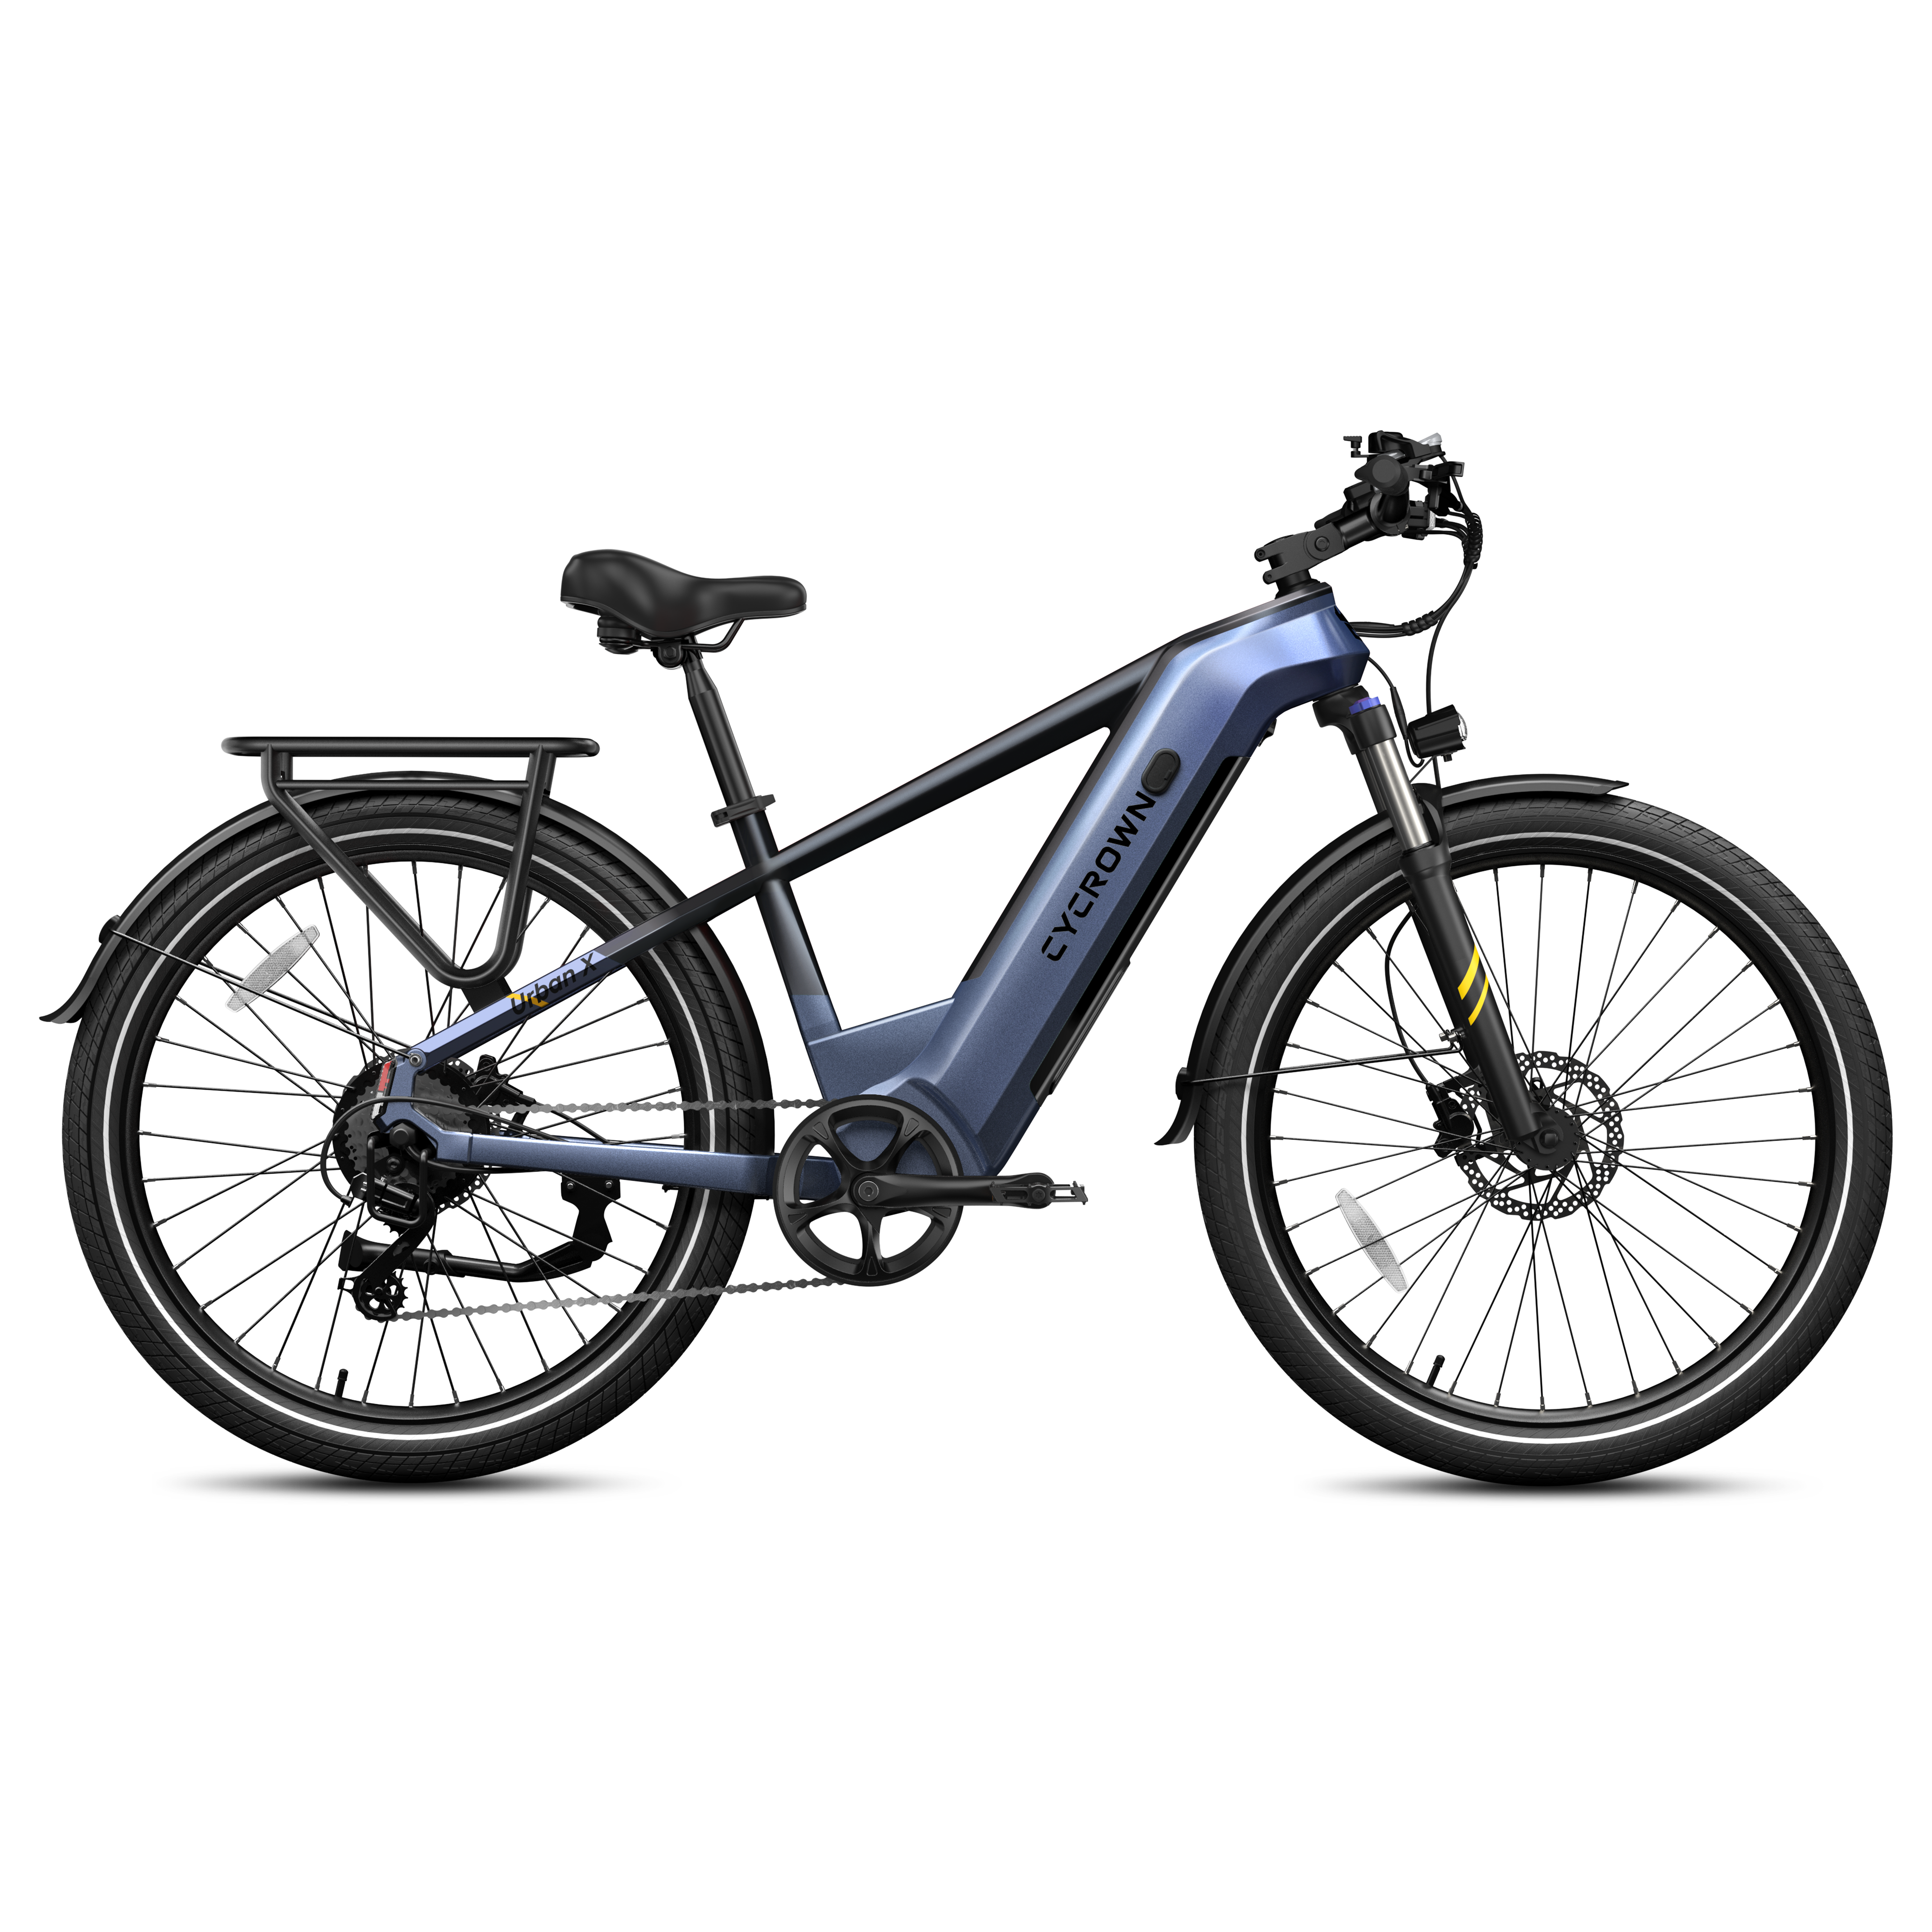
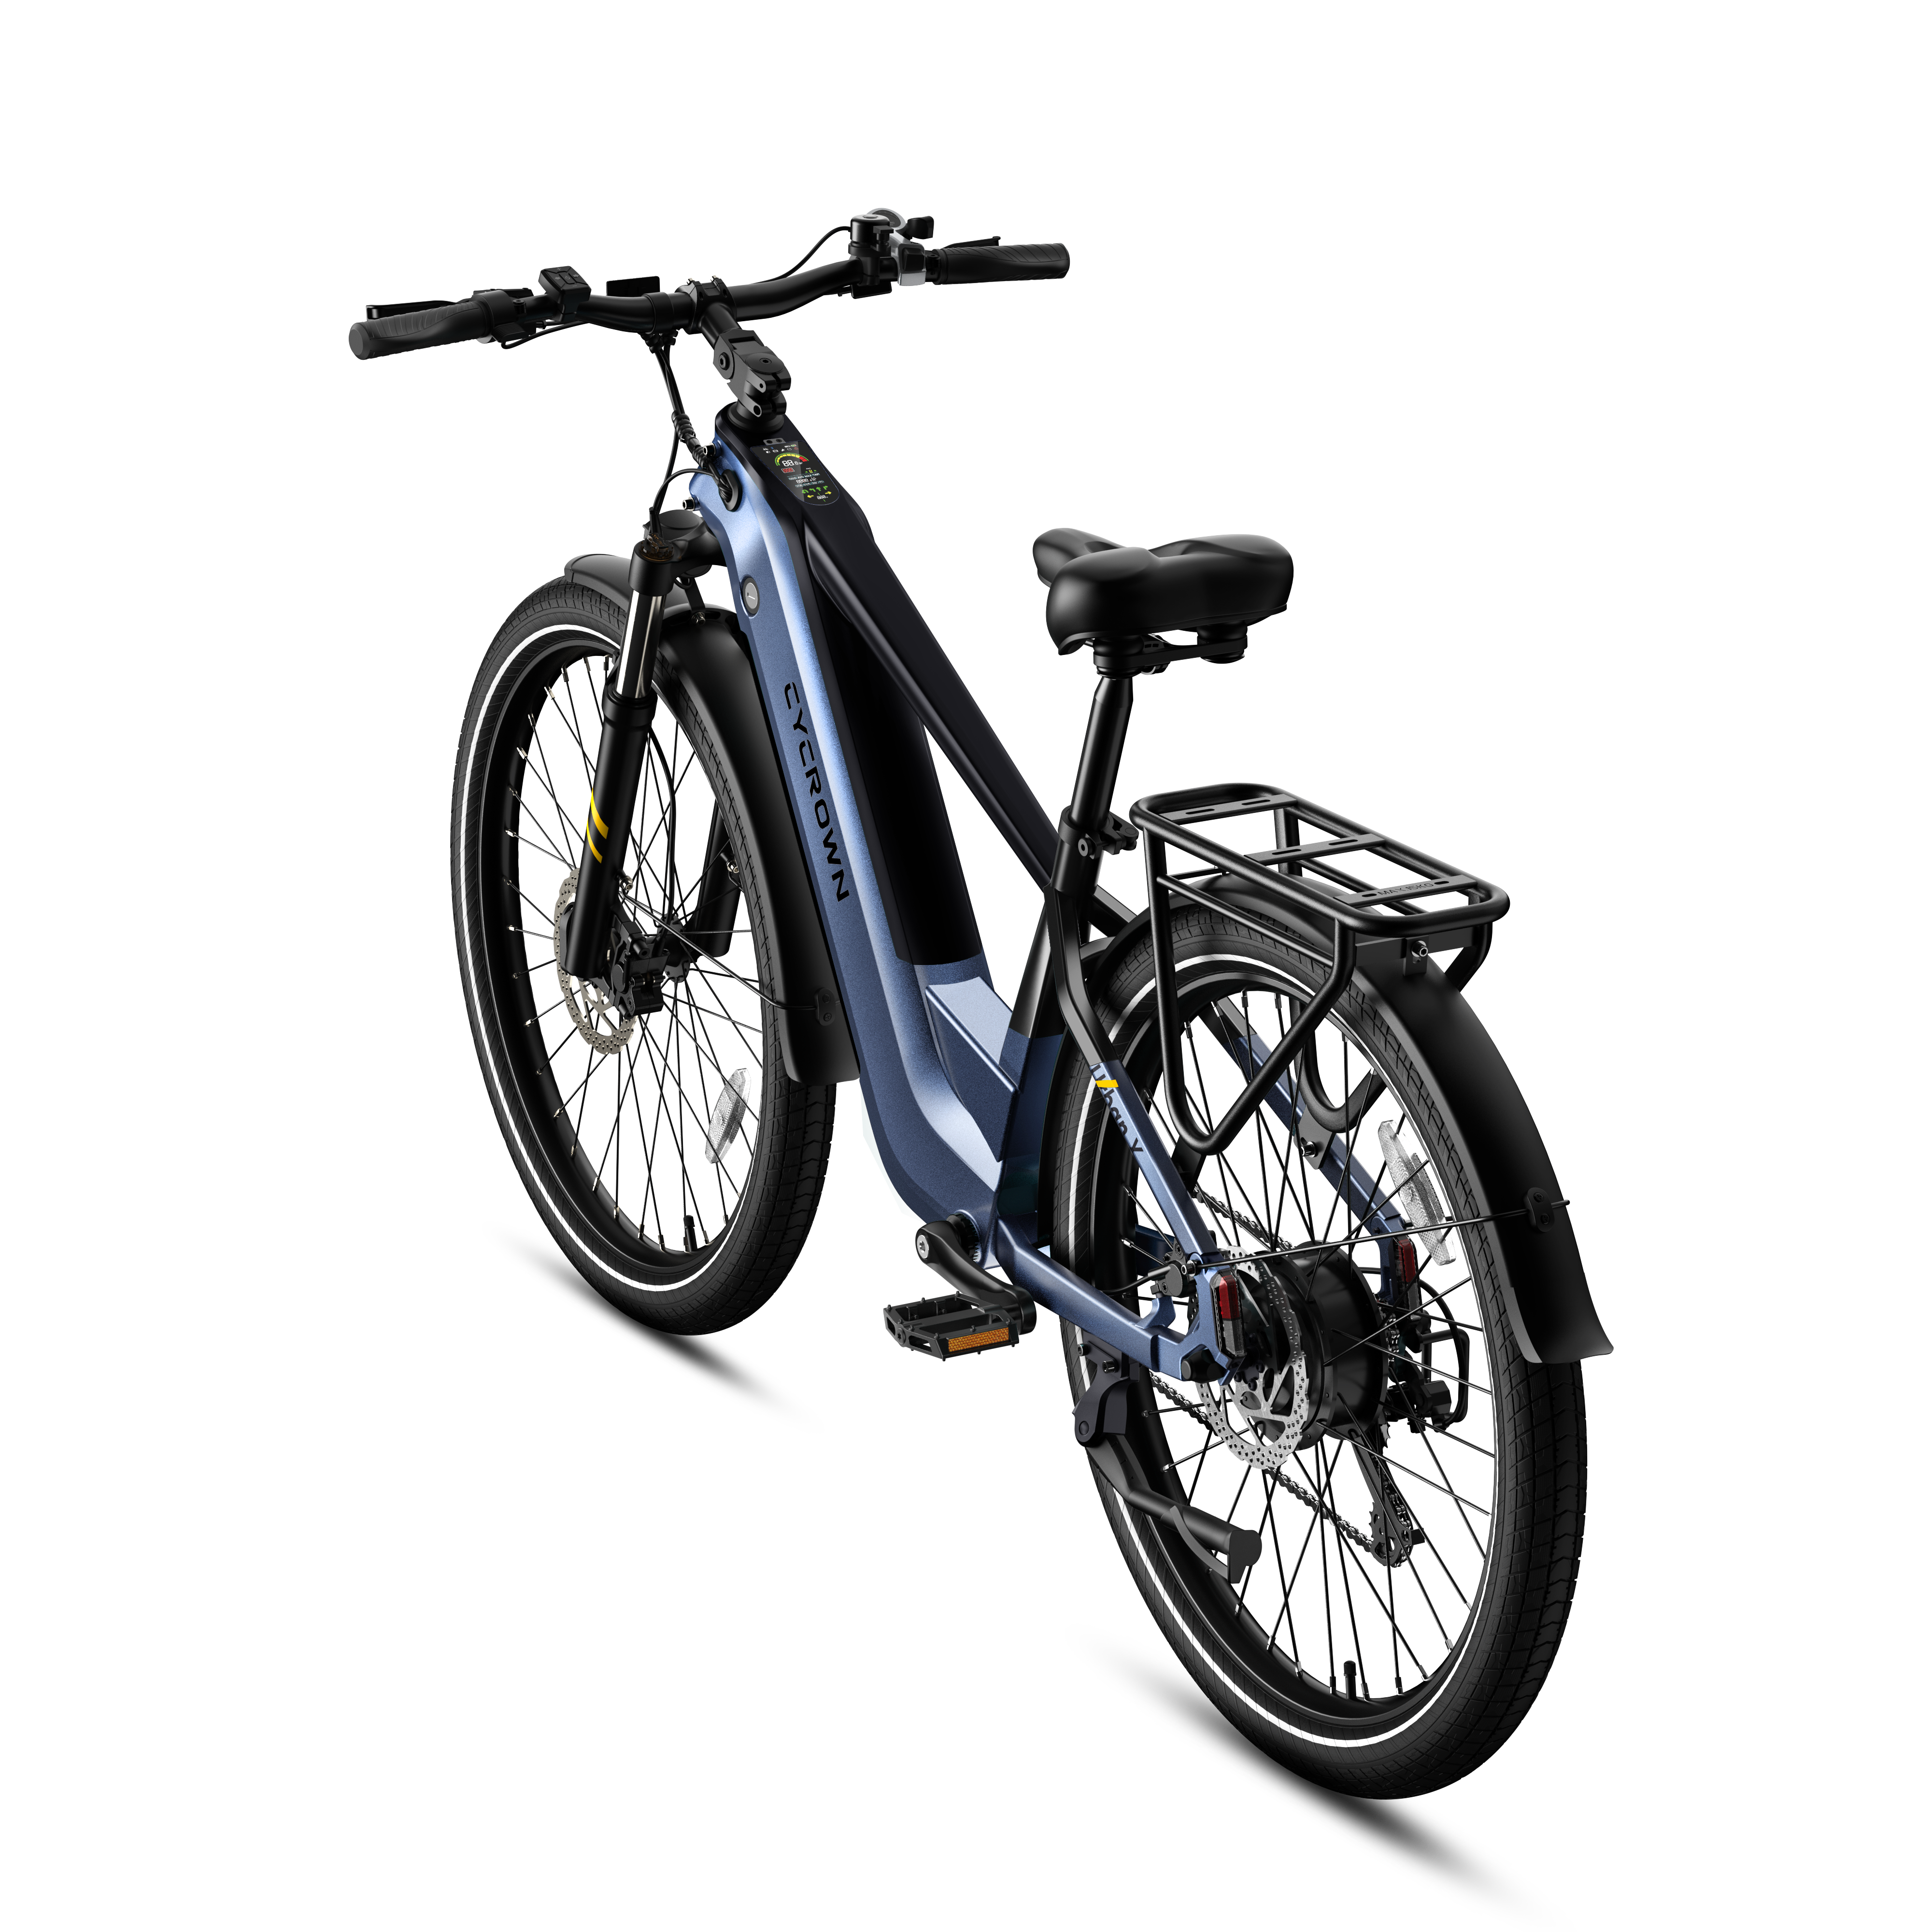
(Urban X Commuter E-Bike Display)
Beyond reading the display, there are a few settings you can change to customize how the bike behaves. On most e-bikes, these are accessed by holding specific button combinations (check your manual for the exact sequence for your model).
Unit System (mph vs km/h)
If your display is showing the wrong unit, this is where you change it. For US riders, mph is the default on most models. This is usually listed as P1 in the advanced settings menu.
Max Speed Setting
Some models allow you to set the maximum assisted speed between 20 mph and 28 mph. This corresponds to Class 2 and Class 3 e-bike classifications in the US. If your local trails or paths require a speed limit, this is where you'd adjust it. On the Nomad Pro, this is accessible through the P5 setting.
Cruise Control
When enabled, cruise control maintains your current speed without requiring continued throttle input. It typically activates automatically once you hold a steady speed for a few seconds. This is listed as P2 on many models and can be turned on or off depending on preference.
Screen Brightness
Adjustable between multiple levels. Useful for early morning commutes (lower brightness) or bright sunny days when visibility becomes a concern. One honest note: most integrated displays are harder to read in direct sunlight at maximum brightness. This is a known limitation across the category, not a CYCROWN-specific issue.
Acceleration Response
On some models, you can adjust how quickly the motor responds to pedaling input — faster response for a more immediate feel, slower for a gentler, more gradual assist. This is often P6 in the advanced settings and is worth experimenting with on your first few rides to find what feels most natural.
If you run into technical trouble, you can check out this guide on how to reset your e-bike display.
Quick Reference: What Each Button Does
Usually, the left-side controller handles all display functions:
Plus (+) button - increases pedal assist level
Minus (−) button - decreases pedal assist level; hold for a few seconds to activate walk assist mode.
Light button - toggles headlight on/off; double-press to cycle through display information screens.
Plus + Minus held together - accesses advanced P-settings menu.
NFC card tap (Nomad Pro) - powers the bike on/off
Getting familiar with these without looking down takes a few rides. The goal is to adjust the assist level and check battery level comfortably while riding, which most new riders find natural within the first week.
Common Beginner Display Mistakes to Avoid
A few patterns new riders consistently run into — knowing them in advance saves frustration:
Leaving the display in the wrong unit - if everything reads in km/h and you're expecting mph, your speed and range estimates will be completely off; check P1 in settings.
Not checking the battery before leaving - running out of charge mid-commute is avoidable; glance at the display before every ride.
Ignoring the error code - a code that appears and disappears once may be a minor glitch; one that stays on or reappears needs attention.
Leaving cruise control on in busy areas - cruise control is great on open roads; turn it off in stop-and-go traffic or shared paths where you need frequent speed adjustments.
Maxing out assist all the time - level 5 drains battery fast; most urban commutes don't need it; learn to use the assist range rather than sitting at the top
How Display Settings Affect Battery Range
This is the connection most beginners don't make immediately: your display settings directly affect how far you can go on a single charge.
Higher pedal assist levels draw more motor power, which drains the battery faster. Cruise control at high speed does the same. Understanding this means you can actively manage range by adjusting your assist level on the fly rather than being surprised by a low battery reading mid-route.
For a deeper look at how to extend range through riding habits and settings management, the CYCROWN battery range guide covers the specific factors that affect how far your charge takes you.
The Display Is Your Ride's Control Center: Learn It Once, Use It Every Day
E-bike display settings aren't complicated once you know what you're looking at. Battery level, pedal assist, speed, and a handful of adjustable settings cover everything most riders need for day-to-day use.
Spend ten minutes with your display before your first real commute — cycle through the information screens, find the P-settings menu, and confirm your units are set correctly. After that, it becomes second nature within a few rides.
Riders considering models with clean, intuitive displays should explore the Roma All-Terrain E-Bike, or browse the full CYCROWN electric bike collection to compare display features across the lineup.
What Beginners Want to Know
What does the number on my e-bike display mean?
The central number is your current speed in mph; the smaller indicators show battery level, pedal assist level, and trip data depending on which screen you're viewing.
How do I change my display from km/h to mph?
Access the advanced settings by holding the plus and minus buttons simultaneously; the P1 setting controls the unit system and can be toggled between mph and km/h.
What should I do if an error code appears on my display?
Note the code number, check your owner's manual for what it indicates, and contact CYCROWN customer support if it persists — don't continue riding with an unresolved error code showing.
How does the pedal assist level affect battery life?
Higher assist levels draw more power from the battery per kilometer, reducing total range; dropping from level 5 to level 2 or 3 on flat roads can meaningfully extend how far you travel on a single charge.
Is cruise control safe to use in the city?
Cruise control works well on open, clear roads; in stop-and-go traffic, busy paths, or anywhere you need frequent speed changes, it's better to ride with it off for more direct control.


